- News
- Reviews
- Bikes
- Accessories
- Accessories - misc
- Computer mounts
- Bags
- Bar ends
- Bike bags & cases
- Bottle cages
- Bottles
- Cameras
- Car racks
- Child seats
- Computers
- Glasses
- GPS units
- Helmets
- Lights - front
- Lights - rear
- Lights - sets
- Locks
- Mirrors
- Mudguards
- Racks
- Pumps & CO2 inflators
- Puncture kits
- Reflectives
- Smart watches
- Stands and racks
- Trailers
- Clothing
- Components
- Bar tape & grips
- Bottom brackets
- Brake & gear cables
- Brake & STI levers
- Brake pads & spares
- Brakes
- Cassettes & freewheels
- Chains
- Chainsets & chainrings
- Derailleurs - front
- Derailleurs - rear
- Forks
- Gear levers & shifters
- Groupsets
- Handlebars & extensions
- Headsets
- Hubs
- Inner tubes
- Pedals
- Quick releases & skewers
- Saddles
- Seatposts
- Stems
- Wheels
- Tyres
- Health, fitness and nutrition
- Tools and workshop
- Miscellaneous
- Tubeless valves
- Buyers Guides
- Features
- Forum
- Recommends
- Podcast
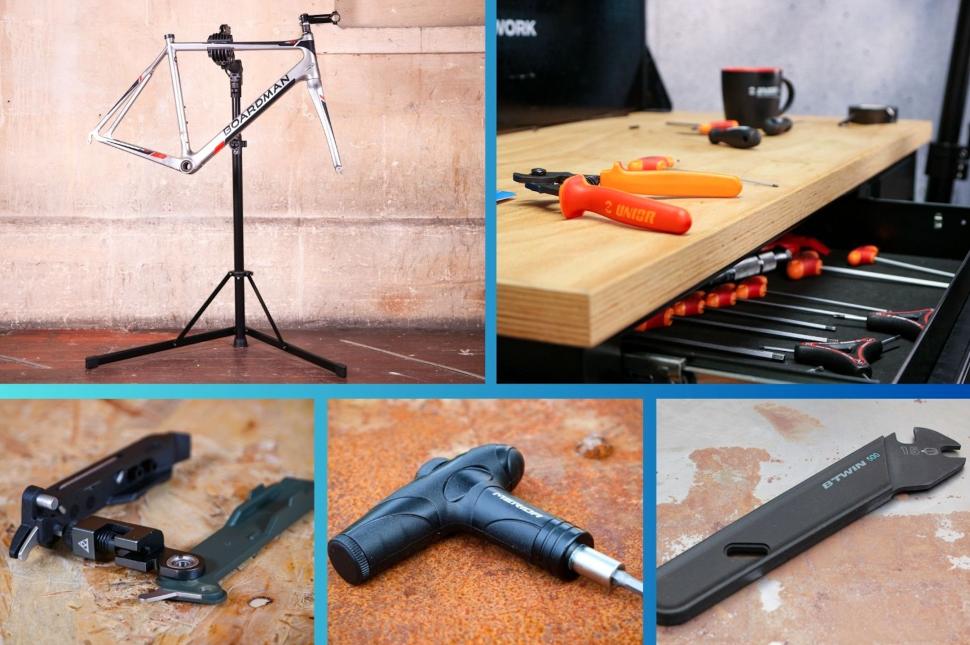 Beginners toolkit guide
A beginner’s guide to building your first bike tool set — the essentials you need to start your journey towards becoming a home cycling mechanic
If you're just getting started on your journey to become a home cycling mechanic, you'll be relieved to know that you don't actually need a vast array of specialist bike tools. Most essential jobs can be done with a few good quality standard tools and a handful of bike-specific ones. Here's our guide to the must-have tools for your toolkit if you're looking to become more self-sufficient, with links to tool-specific buyers guides so you can find the right tool for the job and your budget.
Building up your own bike tool kit can help you keep your bike running better by fixing those niggles that we all come across regularly, and in the long run you will almost always save money over paying for servicing.
With the right tools, there are loads of jobs you can tackle from your own home, though the specific tools you'll need depend on the types of things you're prepared to do. Each bike’s different, but there are many tools common to almost all bikes. Bear in mind also that the adage ‘buy quality, buy once’ really does apply when it comes to bike tools. Good tools work better, last longer and are less likely to damage the parts you’re working on. Think of them as an investment, not a cost.
Having a tool kit doesn't mean you have to do everything yourself, and we're by no means here to discourage you from taking your bike to an experienced mechanic at your local bike shop when the situation calls for it. Attempting a 'big job' by yourself with little experience could end up costing you more than paying a professional, so choose you battles wisely. Plenty of us here at road.cc still use our bike shops regularly, as investing in specialist tools you're only going to use once or twice a year sometimes isn't economical. On the other hand, buying some good Allen keys to tighten things, or a decent pump and tyre levers to fix a puncture, will start to pay off very quickly.
> How to keep your bike running smoothly
It's worth noting that this guide isn't for experienced home mechanics with a pro mechanic-level bike toolkit, and the tools listed here will not handle every mechanical emergency. Instead, it's designed for those who are just starting out or are ready to move beyond relying on their local bike shop, and begin tackling some basic maintenance tasks on their own. Still, if you fit into the former category and are still reading this, feel free to pop any advice in the comments.
Without further ado, here are some of the essential tools to invest in for those more straightforward jobs to help get you started...
Workstand
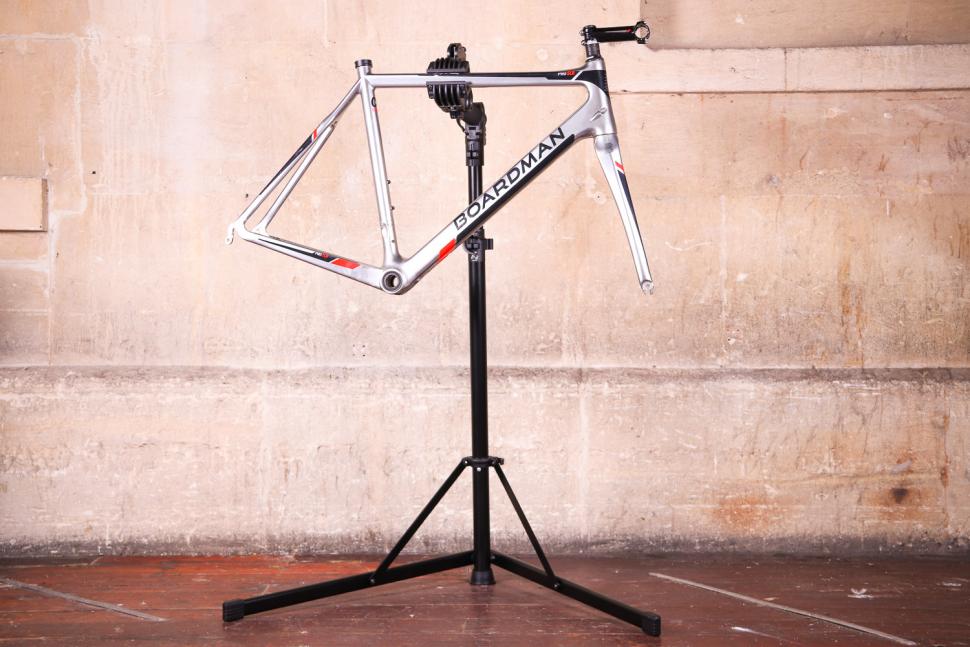
First and foremost, if you're going to do any work on your bike, whether it's a simple adjustment or a bigger repair, a workstand is an essential piece of equipment. The good news is, you don’t have to spend a fortune to get a good one either.
Being able to hold your bike steady and clear of the floor makes any job easier and your back will thank you for not leaning over a bike for hours on end too.
Ball-end Allen keys
> 13 easy pre-ride bike checks (plus 6 vital ones) to ensure your ride is problem-free
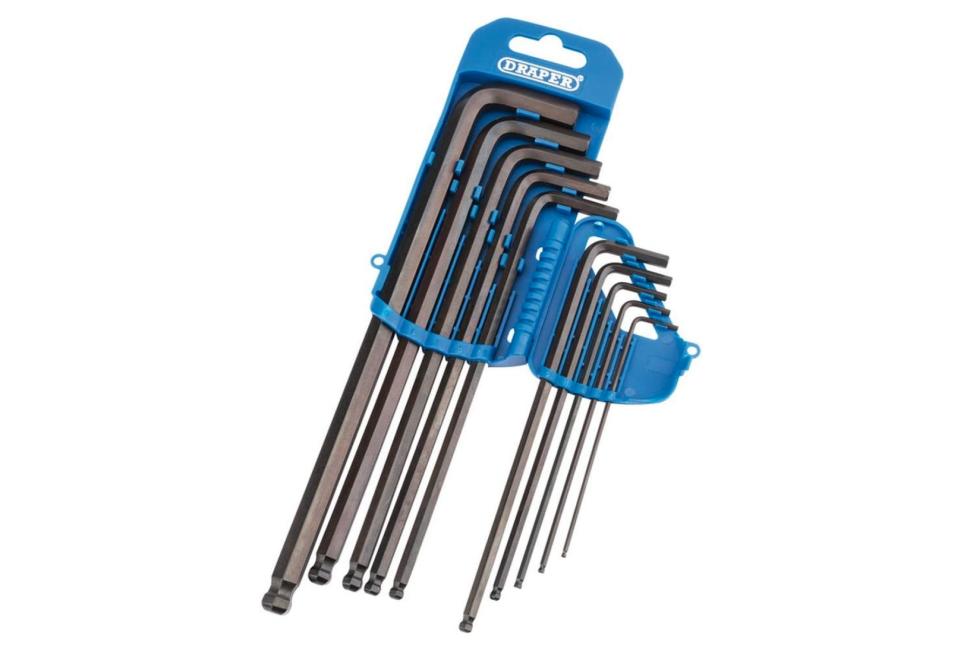
A good set of Allen keys are simple to use, and will allow you to carry out a wide range of adjustments, since many components on bikes rely on hex bolts.
Unlike standard Allen keys, which only work when inserted straight into a bolt, ball-end Allen keys have a rounded tip that allows you to turn a bolt from an angle, making it easier to reach awkward bolts, like mudguard mounts on the inside of fork legs, speeding up many jobs.
Don't skimp on Allen keys, as you'll be using them a lot. As well as being harder and more accurately made, and therefore less likely to mash the bolts you tighten with them, high-quality keys have a narrower neck for the ball, and therefore work at steeper angles, making them more versatile.
Torx keys
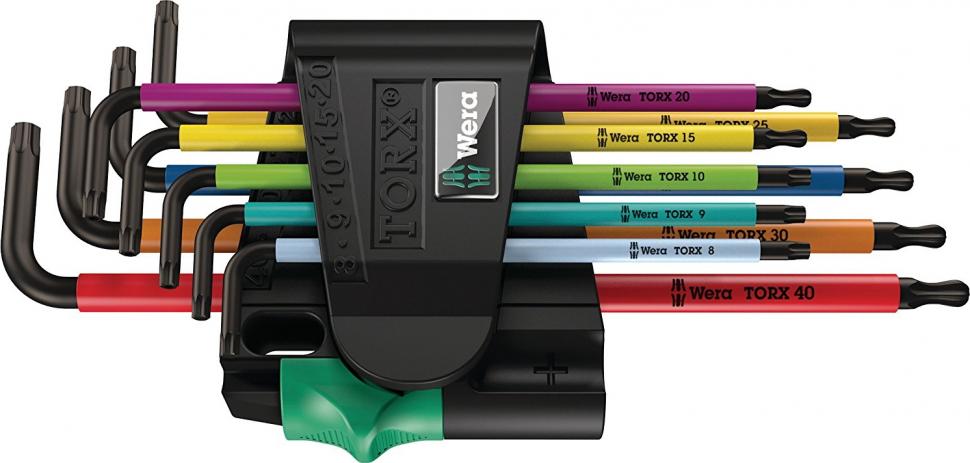
It may well be that not all bolts on your bike are compatible with Allen keys, especially if you ride a newer bike, so you may need a set of Torx keys as well. Torx fittings are becoming increasingly common on bikes, and like Allen keys, they come with both plain or ball-end versions.
Torx keys have a six-pointed, star-shaped tip that often provides better torque transfer than Allen keys, reducing the risk of slippage and minimising the chance of rounding off your bolts.
Torque wrench
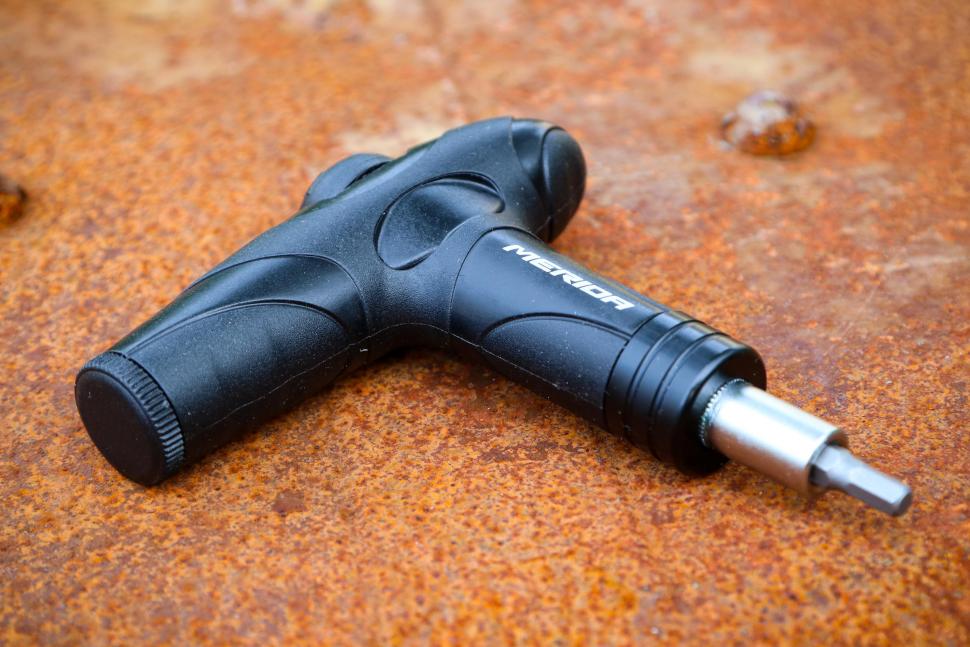
Like Allen keys, a torque wrench is a vital tool for handling most bike maintenance tasks. Most bolts on bikes, particularly carbon bikes, have a stated torque tolerance. A torque wrench helps prevent the risks of over-tightening, which can be costly and dangerous. With a torque wrench, you can get the bolts on your bike as tight as they need to be and — importantly — no tighter.
Over-tightening can strip threads, damage components, or even cause them to fail, while under-tightening can lead to parts coming loose, which can also be dangerous. By following the manufacturer's recommended torque settings, you can avoid these issues.
Torque wrenches don't have to be expensive either. For example, Ritchey offers a torque key with 4 or 5Nm settings, ideal for tasks such as adjusting stem and seat post bolts.
Pedal spanner
Depending on what pedals you have, it may also be worthwhile adding a 15mm pedal spanner to your growing collection of tools. If you look at your pedals from the inside of the cranks and there's a hexagonal socket on the end of the spindle, you will likely need an 8mm Allen key.
Pedals can be notoriously stubborn, and it's worth remembering that one of them has a reverse thread so that it doesn't undo when you're riding along. A proper pedal spanner will give you a better chance of leveraging off pedals, and is usually thinner than a regular spanner to fit between the pedal and crank arm. A standard 15mm spanner will fit some pedals, but others need the thinner jaws of a specific pedal spanner.
Cable cutters
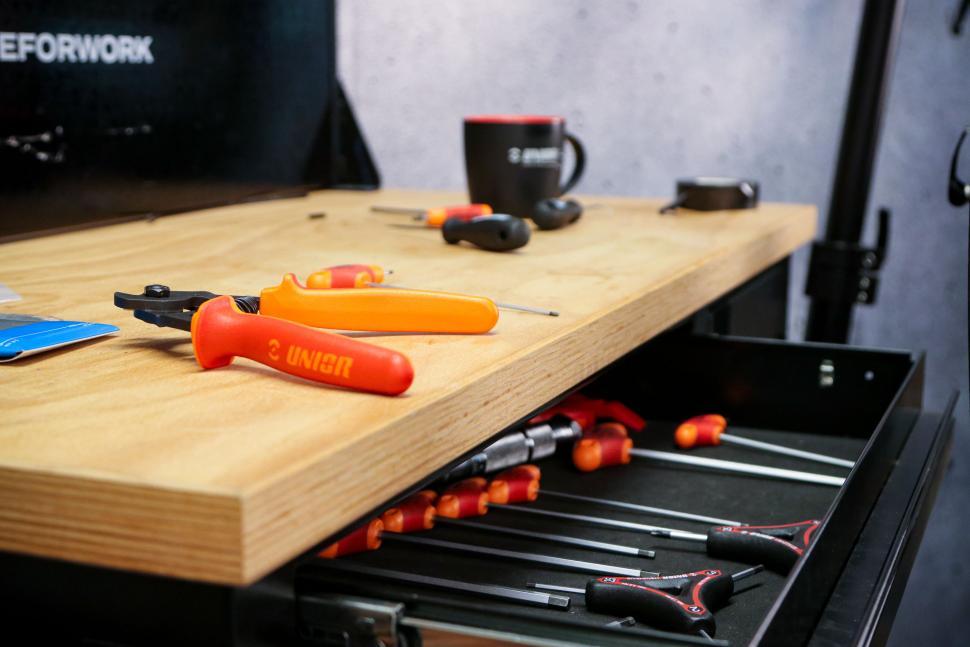
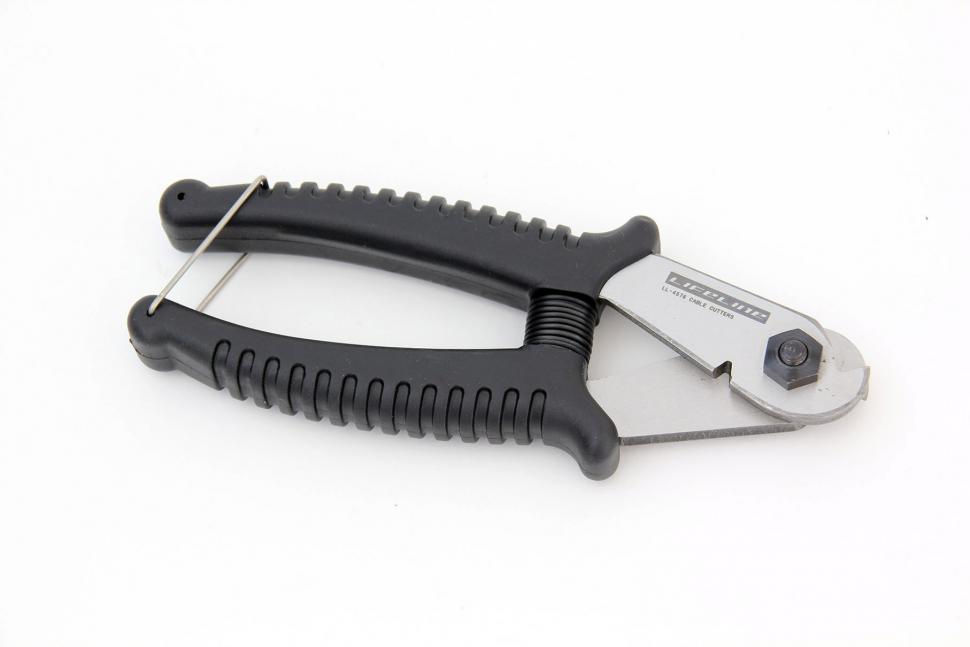
If your bike's got brake and gear cables, it's worth getting a proper set of cable cutters with blades shaped to keep the cable strands together.
Do not try and cut cables with pliers, scissors, sidecutters or any other vaguely sharp snippety-chop tool you have kicking around, as you'll just make a mess of them.
Chain wear gauge and chain tool
> How to clean your bike chain
You can keep an eye on the wear of your chain by measuring its length over 12 full links with a good quality ruler (or 10 if yoiu prefer metric measurements). If it’s stretched by 0.5% on an 11- or 12-speed chain it's time to replace it, and on 10-speed or below you can get away with 0.75%. A wear gauge makes this easier by telling you when your chain needs ditching. You don't need a specific tool for this job, but at a few quid you might as well.
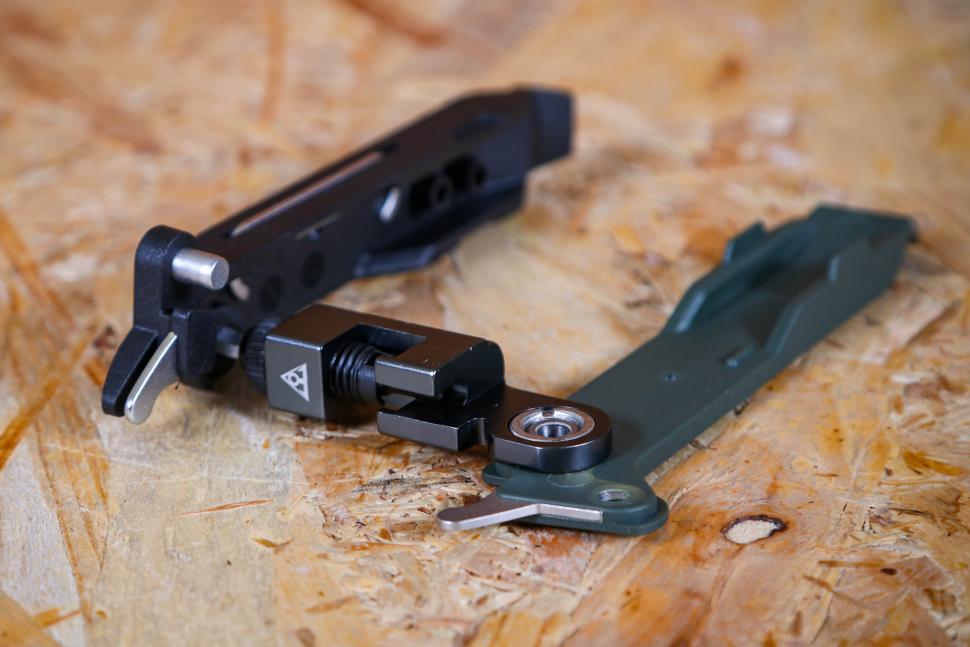
If you want to then replace your own chain, you'll need a chain tool to remove excess links to get the right length for your bike. Most new chains come longer than needed, so you'll need to shorten it by pushing out the pins with the chain tool. You'll need to check that the chain tool is compatible with your chain though.
A chain tool can also be used to install a quick link. Adding a quick link to your chain can be incredibly handy, because it allows you to easily remove and reattach your chain without needing a chain tool. Once your chain is set to the correct length, a quick link simplifies maintenance tasks like deep cleaning or replacing a broken link.
It's also useful to carry a spare quick link with you on rides in case your chain snaps. You can then make a quick roadside repair with the quick link and complete the ride. For some more tips on what to tools to take with you on your rides, check out our cycling essentials guide.
Cassette tool and chain whip
As you gain more experience with bike maintenance, adding a cassette tool (also known as a lockring tool), and a chain whip to your toolkit can be quite beneficial. Although you might not need to replace your cassette frequently, these tools are essential for removing and installing it.
The chain whip helps hold the sprockets in place while you use the cassette tool to remove the lockring that keeps the sprockets together on your bike's freehhub.
Insulation tape
We are unsure if this is strictly a tool, but for securing little bits, stopping any annoying rattles coming from your inner tube valves and finishing off the application of bar tape, get some decent insulation/electrical tape anyway... preferably in black!
What's your must-have tool? Let us know in the comments section below.
Emily is our track and road racing specialist, having represented Great Britain at the World and European Track Championships. With a National Title up her sleeve, Emily has just completed her Master’s in Sports Psychology at Loughborough University where she raced for Elite Development Team, Loughborough Lightning.
Emily is our go-to for all things training and when not riding or racing bikes, you can find her online shopping or booking flights…the rest of the office is now considering painting their nails to see if that’s the secret to going fast…
Latest Comments
- chrisonabike 10 min 16 sec ago
You're going to have to add "new / shiny" to that list. My new Cube was nicked from "secure" storage for my flats *....
- brooksby 11 min 51 sec ago
I wear jeans for my six mile each way commute, during the colder months. I have chinos too....
- quiff 12 min 1 sec ago
I think momove's middle paragraph was sarcastic....
- Velophaart_95 12 min 25 sec ago
For that money you can buy a Mason, a Fairlight and still have plenty of change.........
- brooksby 13 min 46 sec ago
I think that they're saying they won't feel guilty for driving a car instead of cycling for so long as we continue to build new buildings. Or...
- brooksby 22 min 17 sec ago
Now they need to put that arrested individual in one of those hanging cages alongside the Path and perhaps next to one of the CCTV cameras, pour...
- mdavidford 29 min 41 sec ago
I'm not sure commercial success is even particularly high on his list of priorities for it - it's much more about the leverage it gives him for...
- mdavidford 36 min 52 sec ago
Well, that or gambling. Though arguably that's a fine distinction.
- the little onion 3 hours 46 min ago
Rather artistic photo of this (driverless) car that has ended up on its roof on a dead straight road in Bradford....
- slc 5 hours 27 min ago
No doubt it will catch on in Plymouth, but it is Devon, where everything happens 10 years later. Not least the buses....





Add new comment
46 comments
They're in cahoots with Big Tyre Levers to sell you more and more of them.
A tool I recently acquired was a "fourth hand tool" for holding brake cables.
What's your third hand doing?
Holding the third hand tool?
I'm losing count of how many hands are needed to work on a bike
You mean those things for holding a brake cable aren't called fourth hand tools? Dammit!
They are called fourth hand tools. The third hand tool is (was?) a sort of spring clip that presses the brake blocks against the rim (https://www.sjscycles.co.uk/tools/third-hand-braketool/). Hard to see why you would need both, but maybe those oldtime cyclists were superstitious about touching their brakes with their first or second hands.
I reckon that brakes were much more difficult to set up back in the day.
I hear that Gillette are going to start making and selling a fifth hand tool
Personally, I have managed without a fourth hand tool and will continue to hang on to my third hand tool. Some may feel they need both - especially if they already had the third hand tool - as they do a completely different job. I last used mine when adjusting my cantilever brakes.
Remember that they came about at a time before Allen key fittings were commonplace on bikes. So your third hand tool would squeeze the blocks against the braking surface and you would need two spanners - therefore two hands - to work against each other when tightening the cable clamp.
Park Tool call their BT-2 fourth hand tool a cable stretcher, which can, of course, also be used on derailleur cables - unlike my old bent bit of wire with a plastic sleeve.
My thoughts:
I would add a ratchet (and appropriate bit sets) to the list. Not essential but makes most jobs far easier and faster than using standard hex/torx keys.
Grease/anti-seize/threadlocker - not tools as such but essential for carrying out pretty much anything that requires tools.
The article mentions a chain tool and quick links, but no mention of quick link pliers. Whilst there are fudges to open a quick link without a dedicated tool, a pair of quick link pliers makes it easier. I note the Topeak Power Lever Pro pictured doubles up as quick link pliers too, but that's unusual - normally they would be separate tools. As an aside, I don't follow how installing a quick link "simplifies maintenance tasks like [...] replacing a broken link" - you might install a quick link as part of replacing a broken link, but don't see how having one in the chain already makes a difference.
I think the Gorilla tape pictured is too thick/inflexible to use for the sort of tidying jobs suggested - for those you want bog standard electrical tape (of the thin, slightly stretchy variety). My LBS does swear by using gorilla tape as tubeless tape though.
Quick link pliers are GREAT
Don't forget a mobile 'phone so you can call your local bike shop from the privacy of your garage to organise an emergency appointment to sort out the mess you've just made of your pride & joy.
Also useful for enthusiastically watching a video about the job you're about to do, then revisiting forlornly when surrounded by springs, ball-bearings and a mystery washer which you can't recall where it came from.
Ball-end hex keys are useful, no doubt about that, but it you need to apply serious torque which of course you shouldn't but still sometimes need to, I feel they increase the risk of rounding the bolt when compared to straight allen keys. So worth having both types.
I have a set of Bondhus extra long ballend hex keys as well as the 'screwdriver-type' Bondhus hex keys. They're handy - on bottle cage fasteners, for instance - but should only be used for 'spinning' the fastener. Initial loosening and snugging down should only be done with a regular hex key IMHO.
Pages