- News
- Reviews
- Bikes
- Components
- Bar tape & grips
- Bottom brackets
- Brake & gear cables
- Brake & STI levers
- Brake pads & spares
- Brakes
- Cassettes & freewheels
- Chains
- Chainsets & chainrings
- Derailleurs - front
- Derailleurs - rear
- Forks
- Gear levers & shifters
- Groupsets
- Handlebars & extensions
- Headsets
- Hubs
- Inner tubes
- Pedals
- Quick releases & skewers
- Saddles
- Seatposts
- Stems
- Wheels
- Tyres
- Tubeless valves
- Accessories
- Accessories - misc
- Computer mounts
- Bags
- Bar ends
- Bike bags & cases
- Bottle cages
- Bottles
- Cameras
- Car racks
- Child seats
- Computers
- Glasses
- GPS units
- Helmets
- Lights - front
- Lights - rear
- Lights - sets
- Locks
- Mirrors
- Mudguards
- Racks
- Pumps & CO2 inflators
- Puncture kits
- Reflectives
- Smart watches
- Stands and racks
- Trailers
- Clothing
- Health, fitness and nutrition
- Tools and workshop
- Miscellaneous
- Buyers Guides
- Features
- Forum
- Recommends
- Podcast
How to change a bike inner tube — get back on the road quickly and efficiently, even with stubborn tyre and rim combos
Unless you're all in on tubeless tyres, changing an inner tube might just be the most important bit of bike maintenance that you can do. Some riders find it simple, but for others, a puncture means a constant risk of getting stranded. Whatever your ability and however experienced you are at performing this often simple task, we've put together all of our top tube-changing tips and advice to help you get back on the road as quickly as possible, with minimal swearing.
> Should you get tubeless tyres?
Our step-by-step guide below shows you what we believe is the best method of fixing a puncture, and you'll also find a bonus video at the top of the page with some differing techniques on display, plus some of the tips you'll find below.
We've included a list of the tools and materials that you will need to complete the job. If there are others that you prefer then feel free to let everybody know in the comments!
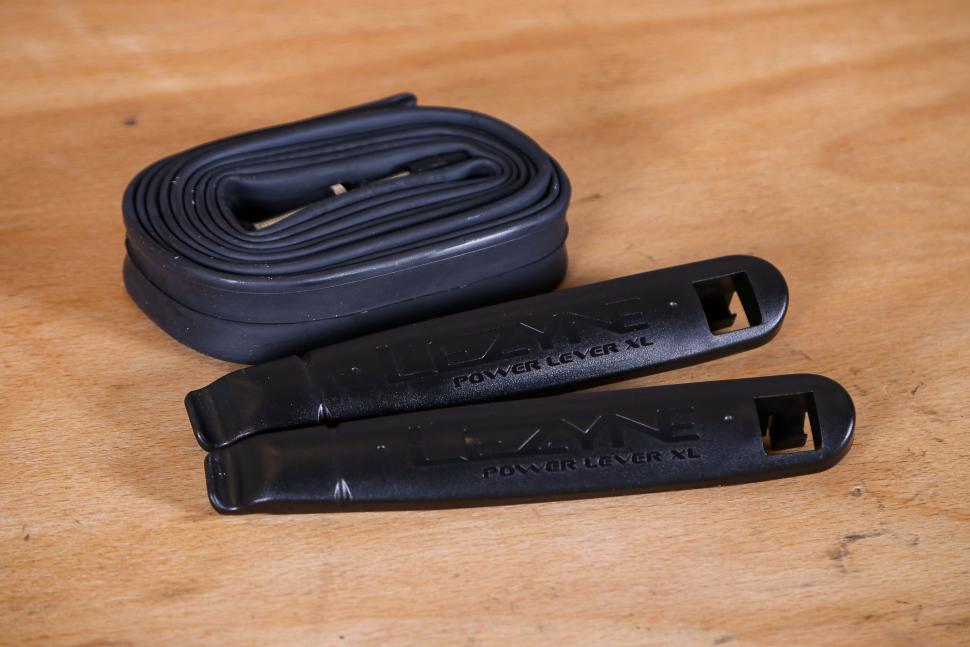
- Tyre levers
- Spare tube
- Pump
...that's it, but there are other inflation methods such as CO2 inflators or electric pumps that are generally quicker than using a pump. You could also patch repair your tube instead of replacing it, which could be cheaper but requires a little more effort than just sticking a new tube in.
Assuming you're sticking with a tube, pump and tyre levers, here goes...
1. Inspect tyre and remove wheel
The first thing you’ll want to do if you’ve got a flat is inspect the outside of tyre to see if you can see the cause. If there’s a visible thorn, glass or debris then pull it out before removing the wheel from the bike. On a rim brake bike this may require you to undo the brake, and in the case of a rear wheel puncture it’s often easier to get the wheel in and out after dropping the gears into the smallest sprocket on the cassette.
On disc brake bikes you simply remove your axle, front or back, but for the rear wheel it's generally still going to be easier to move your gears to the smallest cassette sprocket.
2. Remove one side of the tyre from the rim
Next, we’re going to need to remove the tyre from the wheel rim. To do so, you’ll need to remove any remaining air from the tube by undoing and pressing the valve. You’ll also need a tyre lever, and you can see below for our advice on which ones we use.
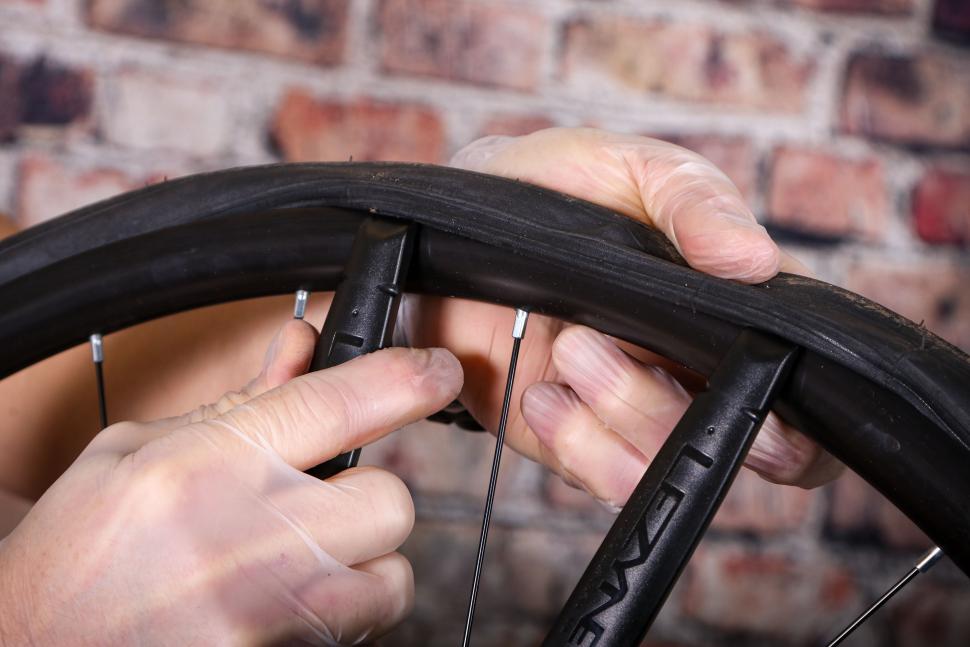
Push the tyre bead towards the centre of the rim bed, which will unseat the tyre. Next, hook the tyre lever under the tyre, being careful to not also catch the tube, and lever it over the side of the rim. Next, slide the tyre lever around the rim to unseat the rest of the tyre.
3. Remove the culprit tube
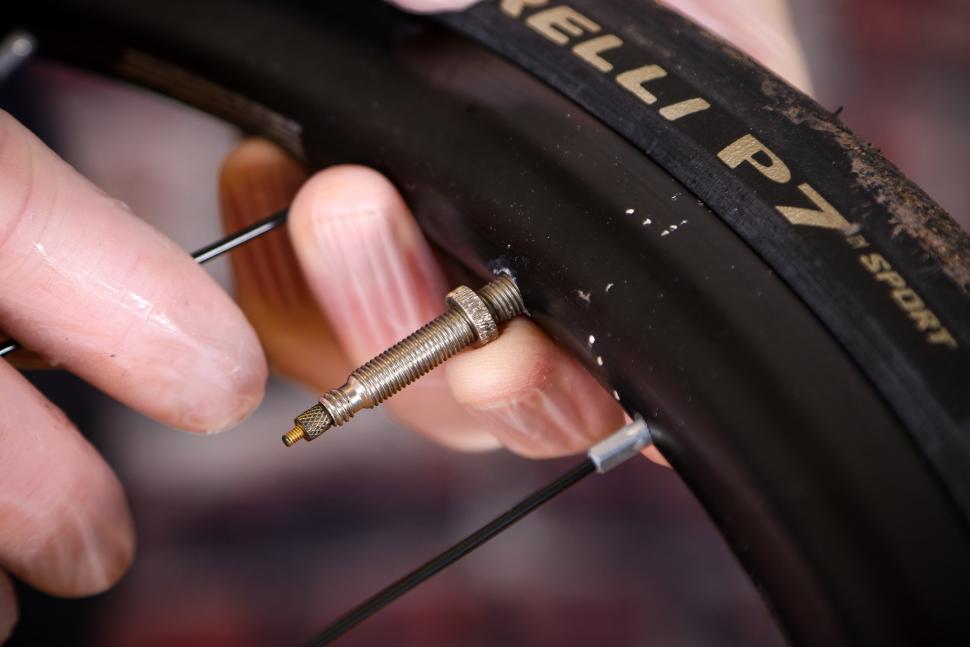
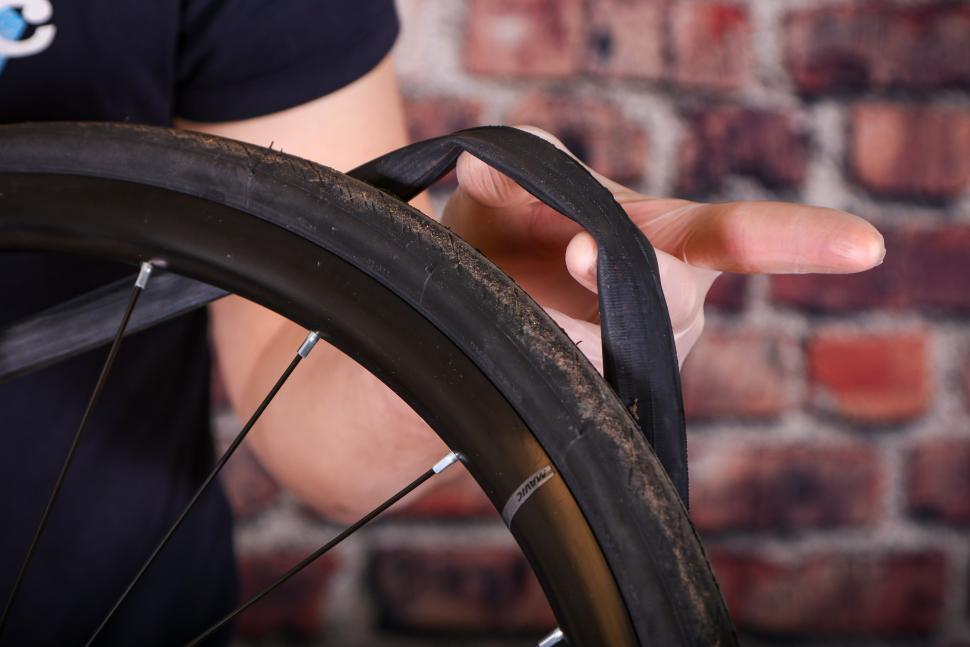
To remove the tube, first remove the dust cap and locking ring (If there is one) from the valve stem. Push the valve stem through the rim and pull the valve out the side of the tyre that has been removed. The tube might be stuck to the inside of the tyre in places, so pull it off until the whole thing is removed.
4. Check the inside of the tyre
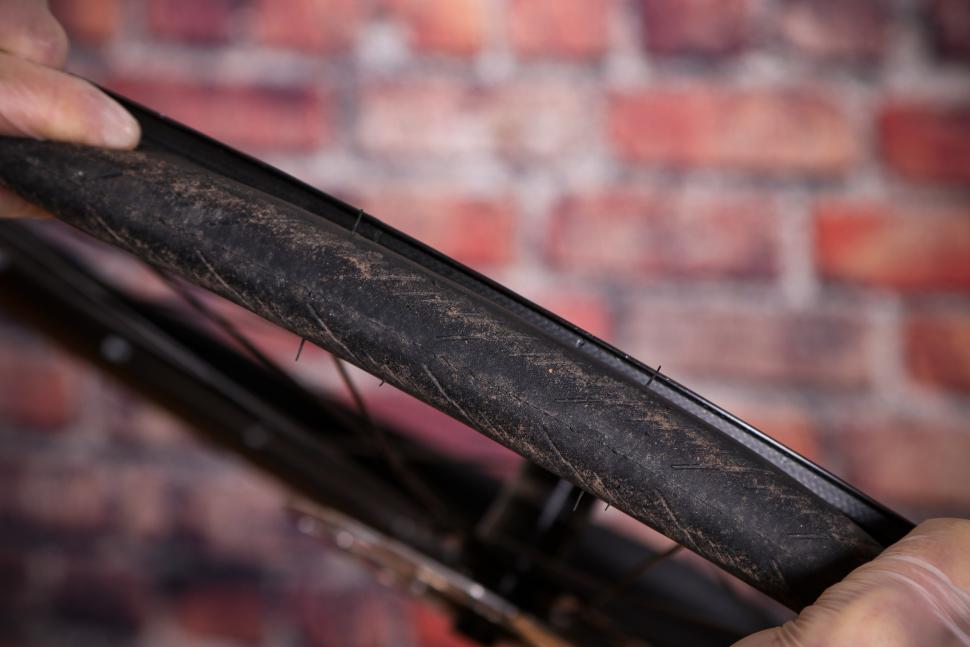
Check the inside of the tyre for the cause. It would be infuriating to change the tube and the same thing happening a few meters down the road because there's a thorn stuck in your actual tyre! Make sure you thoroughly check the inside of the tyre for anything that could have pierced the tube so it doesn't claim the one you're about to install.
Many people run their fingers around the inside of the tyre, but be careful not to cut yourself… whatever pierced the tyre is clearly pretty sharp!
5. Partially inflate the tube
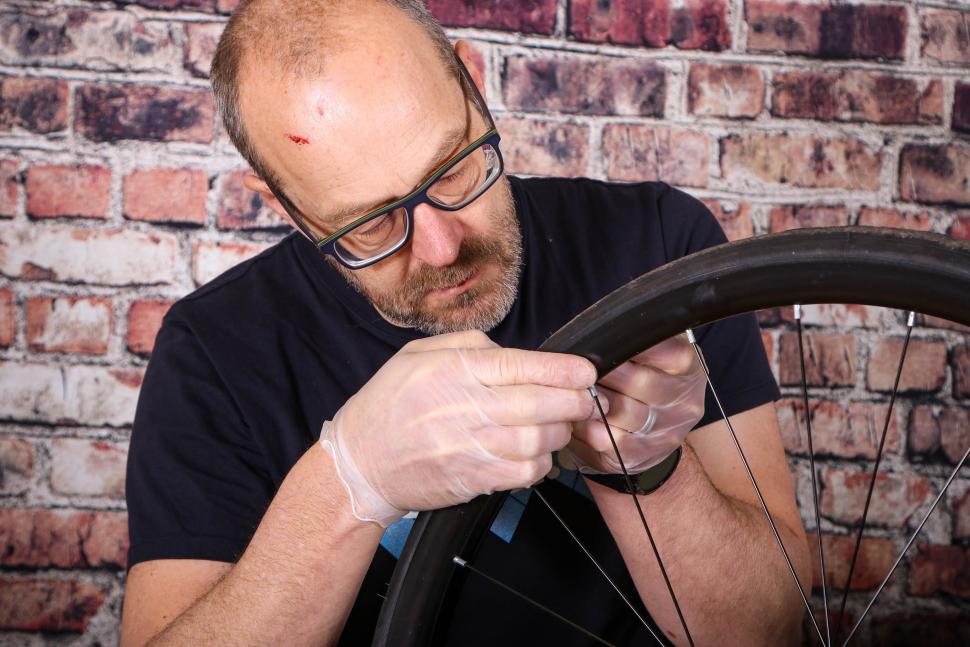
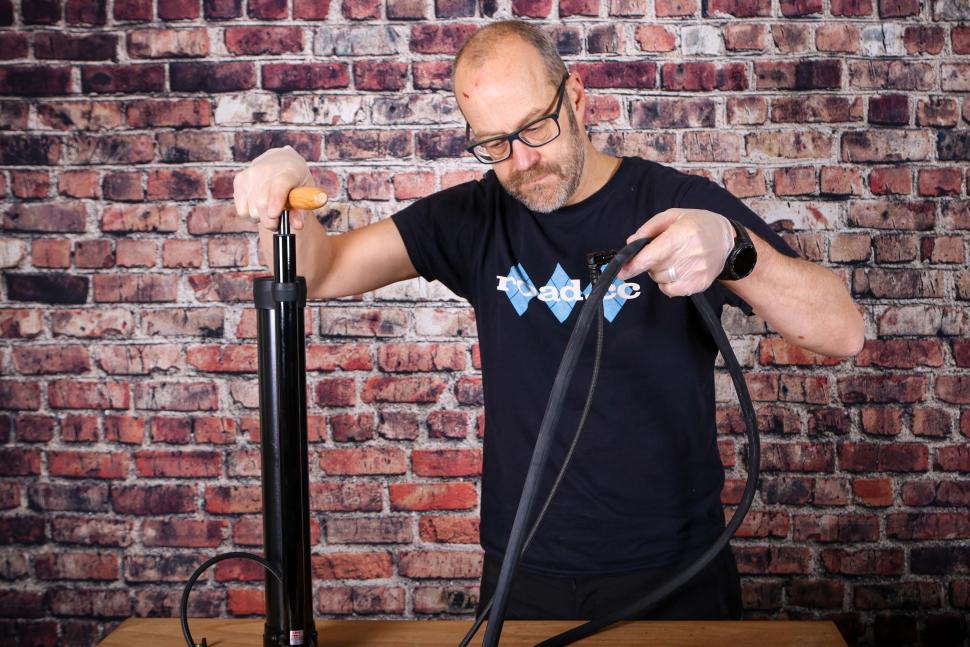
To avoid pinching the new tube between the rim and tyre, put some air in the tube using your pump. It doesn’t need much air, just enough for it to take shape without stretching. There should be just a small amount of resistance if you squeeze the tube. Do the valve back up to trap in the air.
6. Fit your spare tube (and remount side 1 of your tyre, if it wasn't already on)
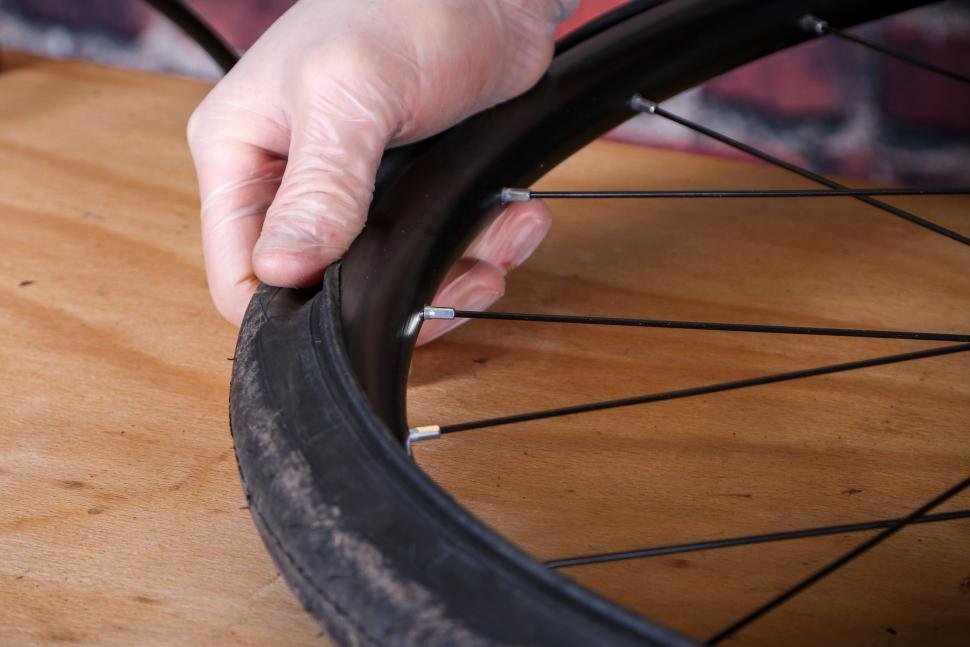
Mount the spare tube. To install the new tube, put the valve through the valve hole and then push the tube under the tyre until it sits inside the rim bed. Ensure the side of your tyre that is already installed drops as deep into the recess of the rim bed as possible.
It's worth noting that in our picture demonstrations, we've kept one side of our tyre on and removed the damaged tube, which will save us putting both sides of the tyre back on. If you are starting with a bare rim for whatever reason, it's advisable to mount one side of the tyre first before slotting your tube under the tyre and into the rim bed. You can put your tube around first and mount each side of the tyre after, but guiding the tube in while one side of the tyre is already in place can help the tube to take shape, and ensure it's embedded properly inside before mounting the second side.
7. Remount the second side of your tyre
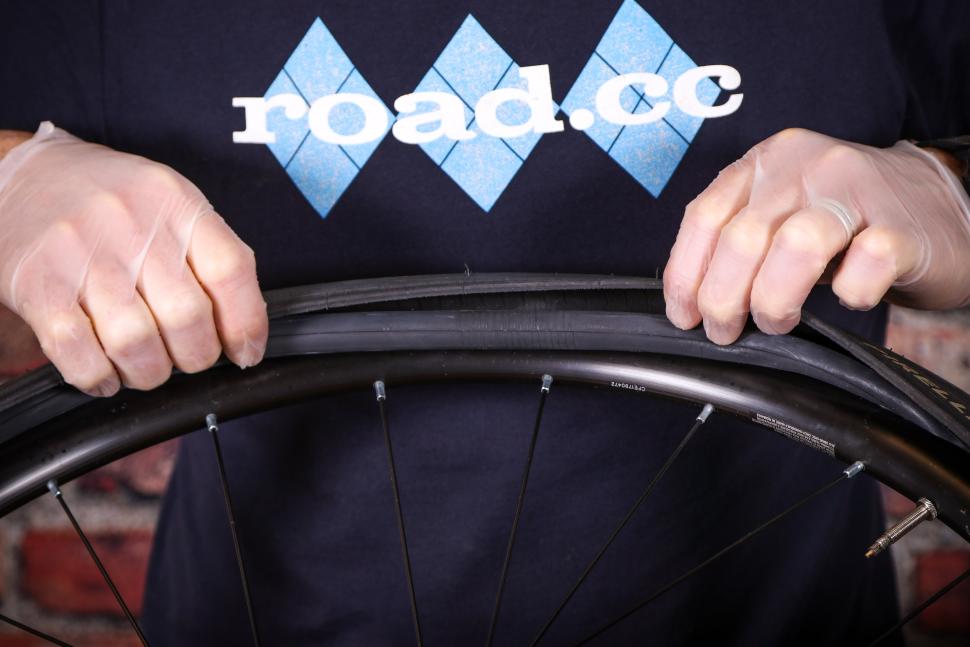
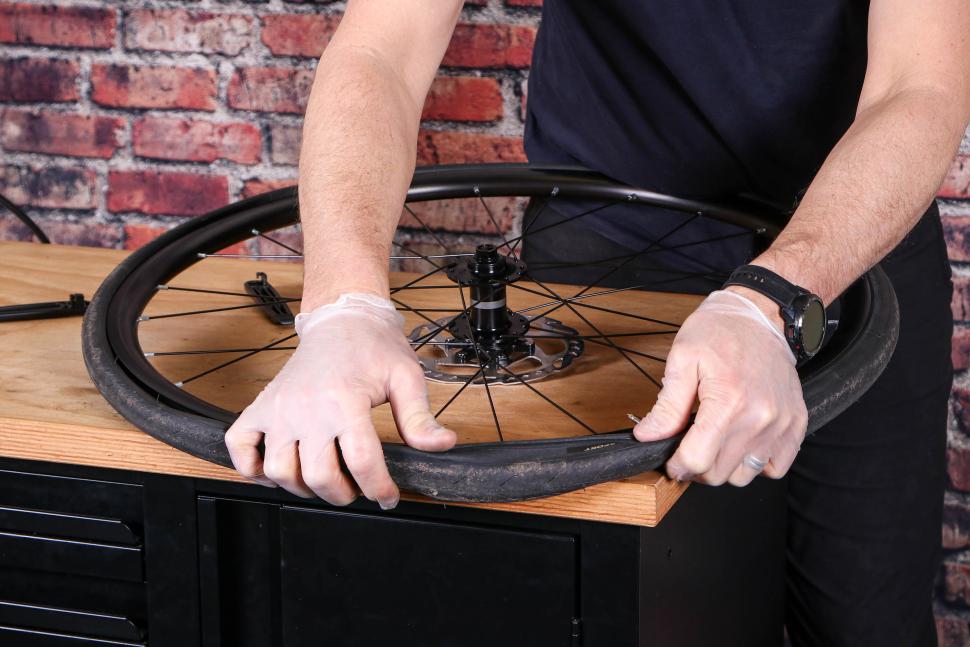
Now for the hardest bit, time to mount the second side of the tyre. Starting at the valve, use your thumbs to push the tyre bead over the rim hook and back into the central channel. Work your way both ways around the rim until you can go no further.
At this point ensure that the tyre bead is sat in the recessed rim bed area (central channel) which should make it easier to fit the remaining section of the tyre. Using a tyre lever in this situation comes with a risk of pinching the tube, so persevere with your thumbs unless it seems impossible. If it's a tight combo and you do need to use a lever, ensure your tube is well inside the rim bed and don't catch any of it when you hook that last bit of tyre bead over.
8. Pump!
> How to choose the best bike tyre pressure
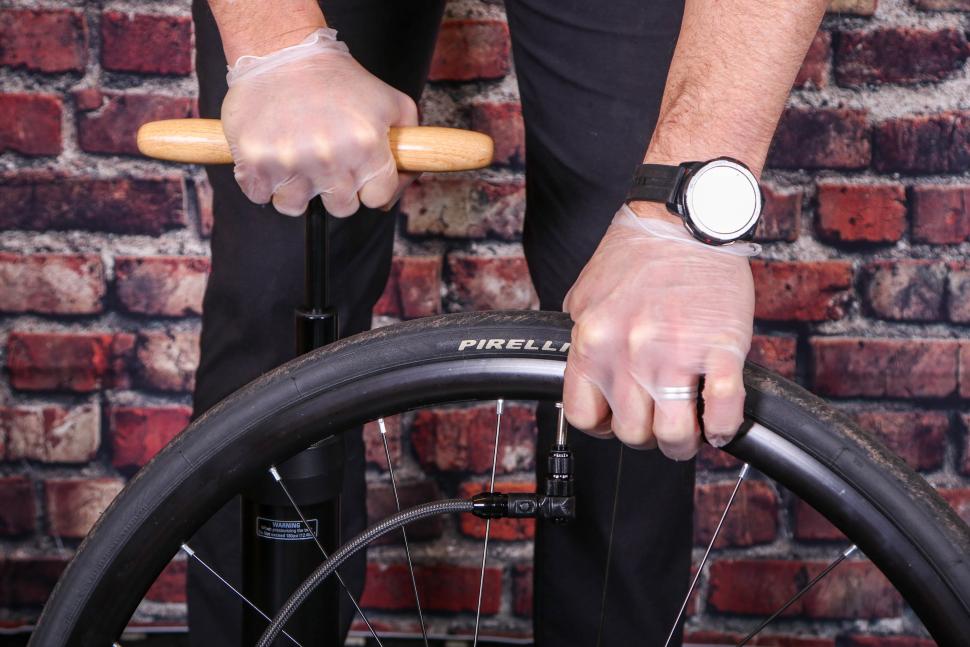
It’s time to inflate the new tube. Screw or push on the pump and inflate to your desired pressure. If you don’t know what this is then we’d recommend checking out our feature above on tyre pressure, and consulting your wheel and/or tyre manufacturer to see what their recommended pressures are.
9. Check the tyre is seated
Once inflated, go around the tyre and check that it is seated all the way around. Most tyres have a line on the sidewall of the tyre that should be equidistant from the rim all the way around. If it’s not then you might need more air pressure to get the tyre to fall in line.
Bonus tips and tricks
Warm tyre/cold rim: Both tyres and wheels expand to some degree as the temperature changes, so you want the wheel to be as small as possible and the tyre to be as large as possible. This means if it's possible you want the tyre to be warm and the rim cold. Obviously don’t go so extreme that you melt anything, but a warm tyre will be less rigid and should go on easier.
This won't be possible two hours into a winter ride of course, so just ensure that your rim/tyre combo isn't impossibly tight and you'd be able to do a change at the side of the road in dreadful weather. It always pays to test your equipment, even simple stuff like your tyres and tubes.
Line up tyre markings with valve holes: Not only does it make it easier to find your valve in a hurry, but it also just looks more pro. It’s the little things!
Get yourself a good set of tyre levers: Here at road.cc we’re big fans of plastic tyre levers. They’re not quite as strong as metal ones, but we’d always rather snap a tyre lever rather than a carbon rim! Tyre levers aren’t expensive, so we’d recommend a large pair for at home and a smaller more portable set for on the road.
Ensure your spare tube is the right size for the tyre: Tubes come in all sorts of different sizes, so you need to make sure that the one you’re putting in will suit the size of tyre on your bike. Too small and you’ll struggle to seat the tyre which could potentially be dangerous and/or overinflate the tube. Too larger tube and you increase the risk of it pinching.
Ensure tube valve length is right: How many times have we been on rides and someone has taken out a tube that has a valve stem too short to fit through their rim? It's a surprisingly common error!
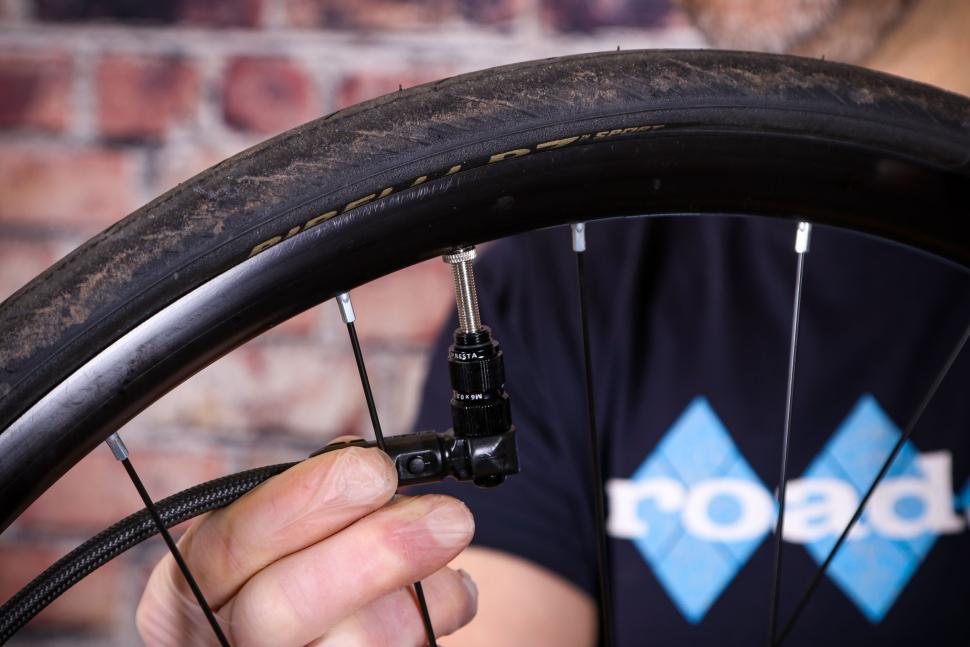
We can't stress this enough, but make sure your valve stem is not only long enough to go through your rim, but that there’s also enough poking out to fit the pump. You'll want 10mm of extra length at the very least, so that means 50mm-deep rims need at least 60mm-long valves (preferably a bit longer) and so on. If you're into time trialling and run very deep wheels, you can get valve extenders that screw into where your original valve core once was to lengthen your valves.
Tighten the valve core before pumping: So many new tubes seem to come with loose valve cores! They’re not all removeable, and many budget tubes often have one- piece valve stems. If you do have removeable ones, make sure they’re tight to avoid feeling deflated at the side of the road (sorry!)
Make sure the tyre is in the centre of the channel when fitting second side: Most wheels have a smaller circumference at the centre of the rim bed than they do towards the beads. When it comes to fitting tyres, use this to your advantage and make sure that the tyre is nestled at the lowest point to give you more rubber to play with.
Use “easy fit” fluid on particularly stubborn combinations: Some tyre/wheel combinations are just super difficult, no matter how experienced you are. If you’re really struggling, then it might help to lubricate the bead of the tyre to help it move around easier. Easy fit fluid is basically a temporary lubricant that will evaporate once you’re (hopefully) done.
Got any more tips for changing a humble inner tube? Let us know in the comments below as always.
Jamie has been riding bikes since a tender age but really caught the bug for racing and reviewing whilst studying towards a master's in Mechanical engineering at Swansea University. Having graduated, he decided he really quite liked working with bikes and is now a full-time addition to the road.cc team. When not writing about tech news or working on the Youtube channel, you can still find him racing local crits trying to cling on to his cat 2 licence...and missing every break going...
Latest Comments
- mdavidford 2 hours 2 min ago
My mum always told me I'd inherited her 'hobbit feet', though as far as I'm aware we don't have any family in New Zealand.
- cyclisto 2 hours 15 min ago
He is not saying anything wrong. Modern cars with huge screens, super soundproofed and bluetooth phones, enhance you to get distracted.
- andystow 2 hours 20 min ago
Hyponatremia is a real risk even for an amateur cyclist or runner in hot weather. I've bonked from it before, and I was drinking Gatorade the whole...
- Gd29 2 hours 34 min ago
Feather isn't primarily citing a lack of demand like many comments here are suggesting, lamenting a changing industry....
- whosatthewheel 2 hours 47 min ago
Or be consistent and make it read: "A 2023 study from the US also found that SUVs are causing more BICYCLE injuries..." ...
- mdavidford 2 hours 57 min ago
Where everybody uses stones in different ways? 🤔
- wtjs 3 hours 2 min ago
in the UK we have policing which to a greater or lesser extent relies on assistance from members of the public......
- SecretSam 4 hours 20 min ago
So...don't cycle on it. Lots of other routes around that area. Source: I used to work there.
- Steve K 4 hours 39 min ago
My photochromic specs have just turned up in the post today
- Paul J 4 hours 46 min ago
Downhill Alpe d'Huez TT would be _awesome_. And someone should organise one for real!...
Add new comment
8 comments
I wish my tires were as easy to mount on the rim as yours. I usually end up with blisters on my thumbs after repairing a flat. Next time use a tire that is difficult to remove and mount and the video will be more useful to the general public.
Roughly about 66% to 75% of the flats that I get I can repair the tube without ever removing the wheel from the bike! This is an old trick I was taught 62 years ago when I was 8 I think, but an neighbor who was about 40 or so years old.
All you have to do is locate the hole entrance on the tire, rotate the wheel so that it clears the frame stays, remove about 1/2 of one side of the bead with the hole in the center of that half, pull out about a 1/4th of the tube with the hole in the middle of the tube section, do the patch routine, reinstall the tube and bead and pump air.
It takes far less time do that than replacing the tube.
Obvously this won't work every single time but most of the time for me it has, and it's a huge time saver.
I've shown this method to other riders that had flats, and wrote about it on many cycling forums.
I always start putting the tyre on opposite the valve . That way there is more space to get the bead into the well of the wheel. And therefore more slack to get it over the rim at the end.
Mind you I had a puncture today but I was a mile from only home so I pushed the bike home rather than do a roadisde fix...
Whatever works for you but I find quite the opposite works best, because of the extra stiff reinforcement around the valve that's the hardest bit of bead to get in without pinching, always best to start there while the rest of the tyre is loose in my opinion.
On long rides I always repair a tube so I can never 'run out' of inners. Once the punctured inner is free of the wheel I will try and find the hole so I can carefully check the tyre for whatever caused the puncture. I had three one winter's ride 😐.
Watch out for embeded glass, sometimes you can't feel it at all. Running a blade over the tyre is almost the only way to find them. You can tell you have one of these if the puncture on the inner isn't a 'clean' hole, but a kind of worn one. I have experienced the same puncture every 3 or 4 rides because I couldn't find the piece of glass or grit.
Have a couple of reusable cable ties (zip ties) handy. Tightly wrap around the tyre and rim to prevent the bead popping off the rim when the last part gets very tight. The cable tie will hold the bead in place as you 'encourage' the last part of the bead over the rim.
It's useful to practice this at home with your on-bike kit so you know how it all works before needing to in the wet and cold.
Practise