- News
- Reviews
- Bikes
- Accessories
- Accessories - misc
- Computer mounts
- Bags
- Bar ends
- Bike bags & cases
- Bottle cages
- Bottles
- Cameras
- Car racks
- Child seats
- Computers
- Glasses
- GPS units
- Helmets
- Lights - front
- Lights - rear
- Lights - sets
- Locks
- Mirrors
- Mudguards
- Racks
- Pumps & CO2 inflators
- Puncture kits
- Reflectives
- Smart watches
- Stands and racks
- Trailers
- Clothing
- Components
- Bar tape & grips
- Bottom brackets
- Brake & gear cables
- Brake & STI levers
- Brake pads & spares
- Brakes
- Cassettes & freewheels
- Chains
- Chainsets & chainrings
- Derailleurs - front
- Derailleurs - rear
- Forks
- Gear levers & shifters
- Groupsets
- Handlebars & extensions
- Headsets
- Hubs
- Inner tubes
- Pedals
- Quick releases & skewers
- Saddles
- Seatposts
- Stems
- Wheels
- Tyres
- Health, fitness and nutrition
- Tools and workshop
- Miscellaneous
- Cross country mountain bikes
- Tubeless valves
- Buyers Guides
- Features
- Forum
- Recommends
- Podcast
feature
 How to fit cable outer 03
How to replace bike gear cable outer in 10 easy steps
Gear cable outers are essential for accurate shifting. They can degrade because of corrosion or they can wear and split from friction against the frame or damage from UV light. Here’s how to replace gear cable outers.
Our guide below shows you what we believe is the best method to replace gear cable outer. We've included a list of the tools and materials that you will need to complete the job and in some cases where you can buy them. If there are others that you prefer then feel free to let everybody know in the comments.
Tools & Materials
Gear cable outers are a vital part of your bike's indexing system. They carry the inner cables and provide a smoothly-running environment that makes shifting gears easy. They need to be in good condition, with no kinks or wear spots, and to have smooth, large-radius curves wherever they turn corners.
Gear cable outers are made up of wire strands running along the length of the cable, held together with a hard plastic outer shell. The wire makes the outer virtually incompressible and also keeps the distance between the ends constant when the ends move. That's essential for accurate indexing.
If your gear cable outers are too short the friction between outer and cable increases, making for poorer shifting. If in doubt, gear cable outers that are a little too long are better than ones that are too short.
The importance of good cable cutters can't be overstated. A clean cut is essential for good shifting. You want a square end with no wires sticking out so that it's easier to fit a ferrule and the outer consistently resists compression.
You also want ferrules that fit tightly around the outer. If they slip on and off without any assistance then they're too loose.
The big tip is to look at your existing cable runs, and see if you've got too much outer. You might be OK, but often new road bikes have lots of cable from the shifters to the stops on or around the head tube. If you're not sure, not bothered or the length is perfect as it is, then just trim the new run the same length as the one it's replacing.
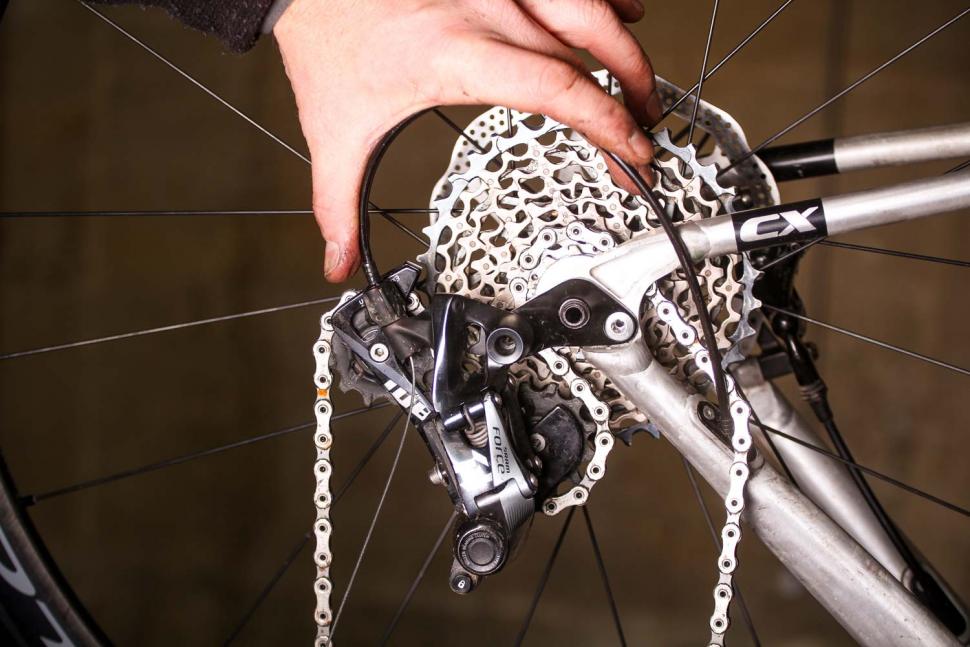
1 The original outer. We've removed this run of outer from the rear derailleur of our bike. The length is okay, and the shifting is good. That said we think we can lose a bit to close up the loop and create a run that's a bit less likely to be snagged – this cyclo-cross/gravel bike gets ridden in all manner of stick infested places. Measure the run to be replaced (or simply hold it, straightened out, next to the new bit to mark the spot.
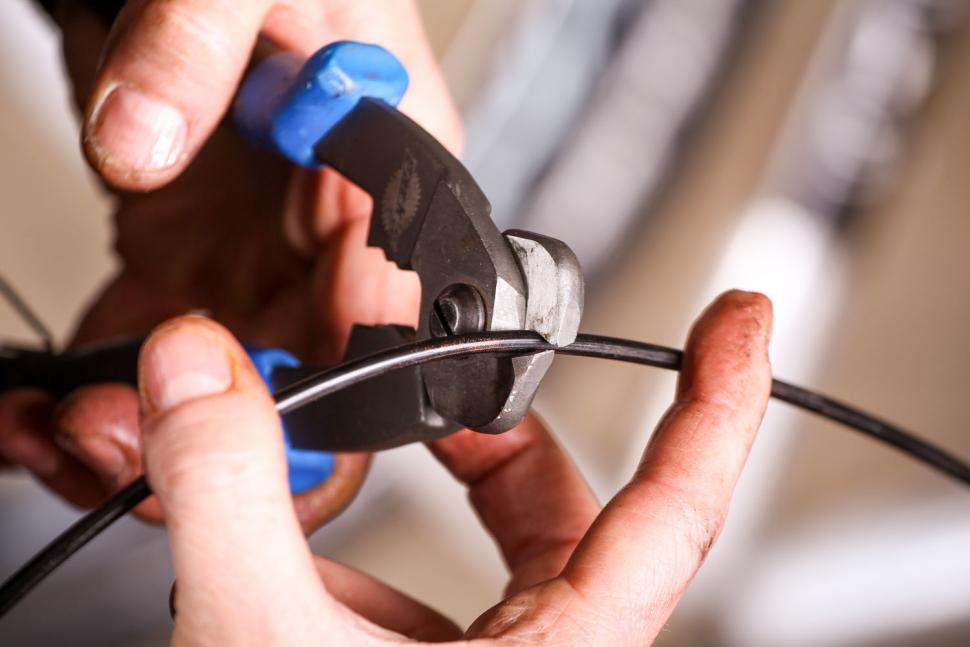
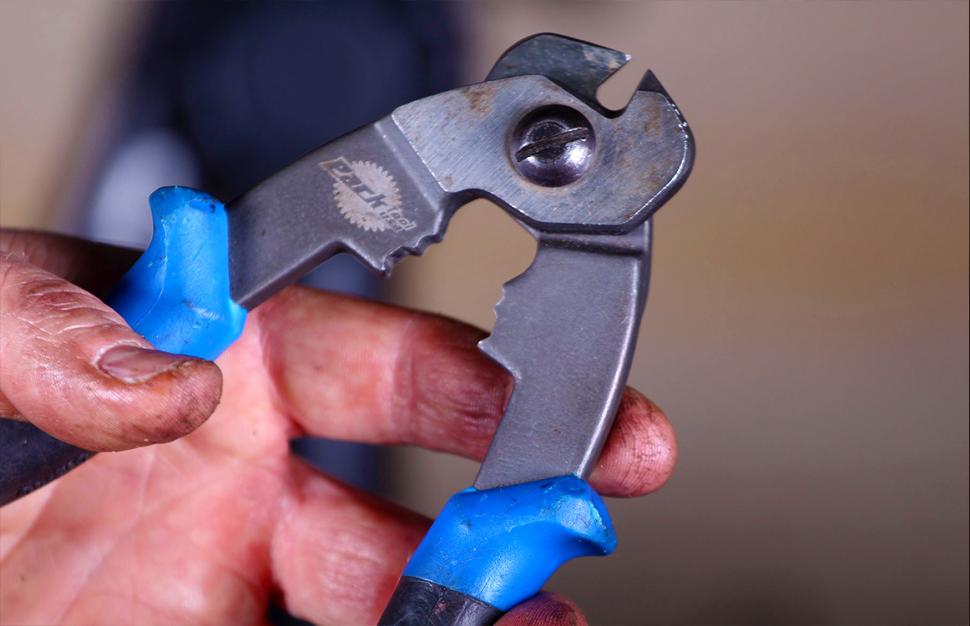
2 Get the right cutters. Some cable cutters are only designed to cut inner cables; their jaws won't go round the complete circumference of the outer housing. These ones have the size jaws you're looking for. If you use undersized cutters you'll make a mess of the outer and end up with worse shifting, not better.
3 Check twice, cut once. Before you make a cut measure the new run. Mark the cable without cutting it and offer the run up to the frame to see if it really is going to be right. If it is, make the cut. With sharp cutters a firm, quick squeeze will cleave through the cable in one clean cut, with no ragged plastic or pokey bits of wire to interfere with ferrule fit.
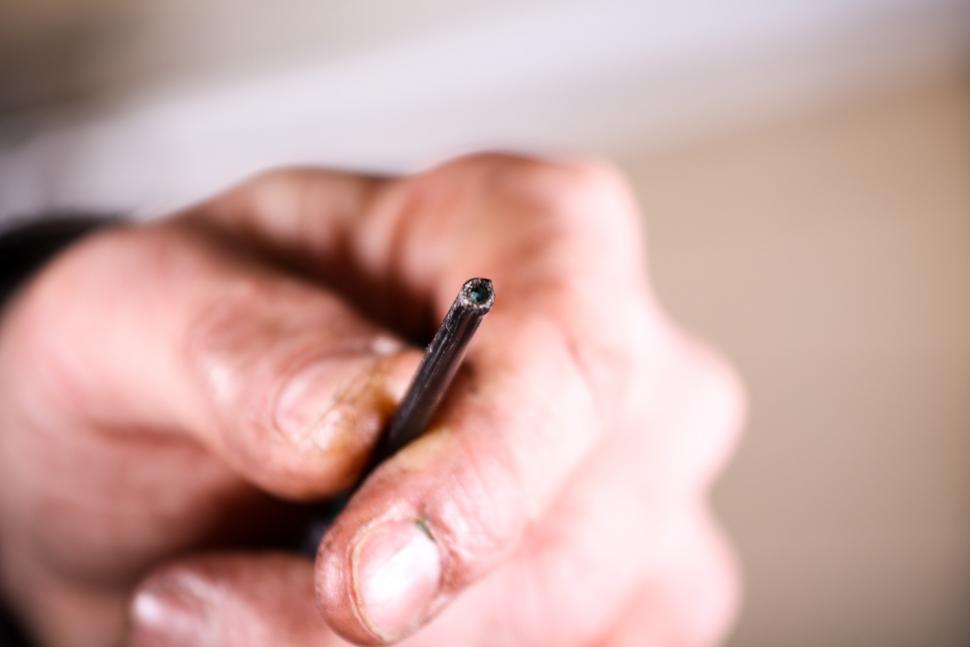
4 The freshly cut end. The plastic will have been cut to show an even and smoothly trimmed circle of support wires. These will press directly on the inner face of the cable ferrule, which is why the outer cable doesn't compress under shifting load.
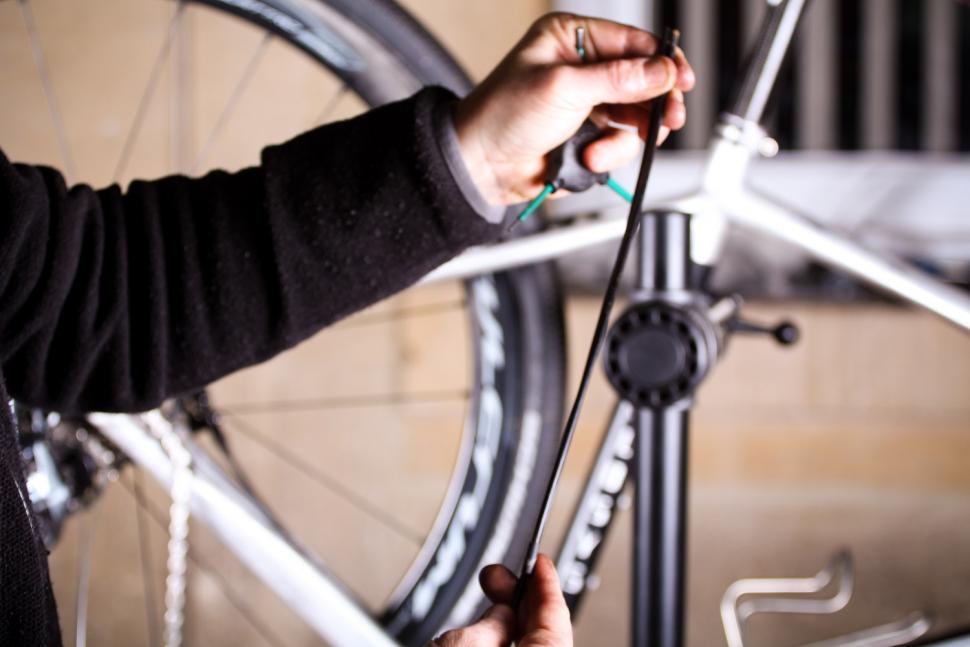
Cutting the outer often squashes the PTFE liner, making it difficult to get the cable in. To open it, either run a spare inner cable up the outer, from the end you haven't just cut, or pick the closed tube open with a needle.
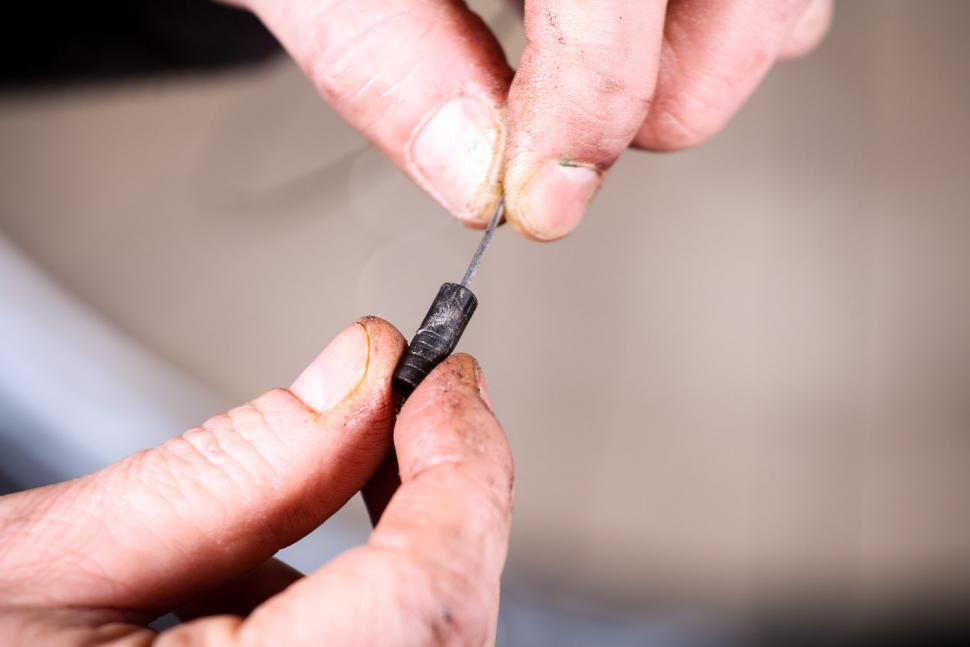
5 Fit the ferrules. The inner cable often won't easily pass through the ferrule and into the cable outer when you fit them together, and inner cables that have already been trimmed can fray if snagged. To avoid all this, slide the first ferrule on to the inner wire, then the new run of outer housing, then the second ferrule (as above). With all the elements threaded on to the inner cable, press the ferrules on to the ends of the housing.
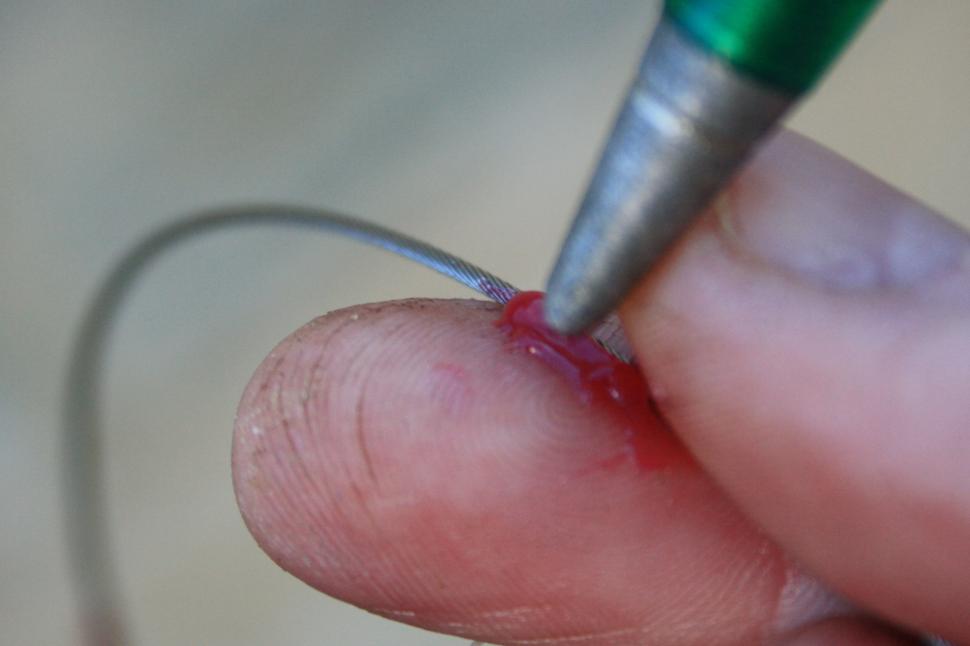
6 Grease the cables. Don't forget to add a little bit of grease to the inner cable in the zone where the outer housing will sit. It helps seal the new run of outer from water ingress and ward off rust.
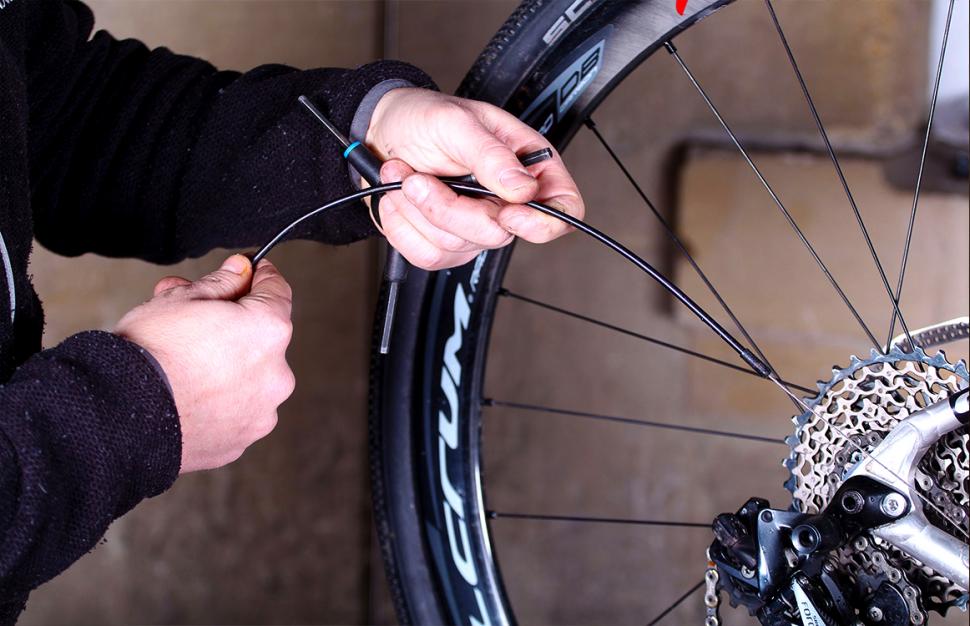
7 Fit the outer. Slide the completed new run along the inner cable.
8 Seat the lead ferrule into its stop on the chainstay. Make sure that it's fully home. If it's not all the way in, then it could move when you pull the gear cable, throwing out the shifting adjustment.
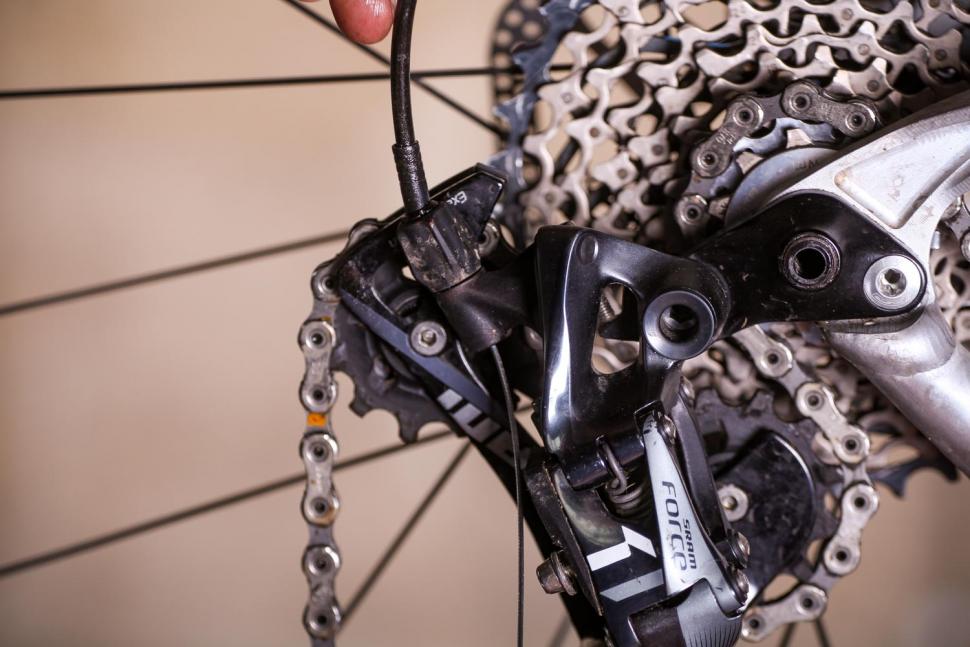
9 Thread the inner cable into the rear derailleur via the hole in the barrel adjuster at the rear of the derailleur. Then locate the other end of the new outer run into the barrel adjuster. Make sure it's well home.
10 The finished run. It should be a neat and graceful curve. As an easily remembered rule, outer cable curves on the final run to the rear derailleur should be about the same radius as the skin between an outstretched forefinger and thumb, not tighter or wider.
>> Read more: The full archive of road.cc maintenance articles
Latest Comments
- BigSigh 7 hours 11 min ago
I am absolutely certain that it's not fair for trans-identifying males who went through male puberty to compete in female sports... and that should...
- thax1 7 hours 15 min ago
I was just excited to learn that Grundig were still a going concern, let alone making stuff for bikes now! What's next, Blaupunkt power meters?!
- chrisonabike 8 hours 26 min ago
Nothing to do with cycling, and currently unclear as to what exactly happened. But a child is dead, a tram line isn't running services and ...
- Destroyer666 7 hours 39 min ago
Sidelining the point here a little bit, but I was just looking at a Rapha video about Lachlan Morton's latest incredible venture of riding 648km in...
- wtjs 11 hours 17 min ago
Or, you can just look at them - it's pretty obvious when they're not going to work with a new chain. Then you can try them with old lengthened...
- NeilC575 11 hours 20 min ago
I bought 5 screw in storage hooks from local d.i.y store for £10. Does the same job 🤷♂️
- Bungle_52 15 hours 4 min ago
Well it looks like they've got a page now. It says they'll accept video evidence but I haven't been through the whole process. Looks very similar...
- eburtthebike 15 hours 14 min ago
Sorry, but the BBC is definitely tilting towards cycling after the Panorama debacle....
- mdavidford 15 hours 19 min ago
Unlikely. Not once he hears that it'll 'help Gore'.

Add new comment
5 comments
I beg you dear reader not to be a cheapskate like me and try to cut the outer cables with the wire cutter bit on a pair of pliers! I nearly wrecked a brand new Campag cable kit doing this.
If you are using standard galvanised inner cables, it is worth oiling the cable before threading it through the outer. This not only provides lubrication, it also stops rust. Not necessary on stainless and definitely don't do it on coated cables.
Cable oilers are great, I highly recommend the middleburn ones. They definenitely lengthen usable cable life. A small price compared to quality cables too. A little bit of hastle when first setting up, but it gets easier as you transfer to new cables.
The long run Nokons on my good bike have little oiling connectors and the manufacturere tell you to regularly lube.
I Nokoned up my full run Rohloff cables for my ultimate commuter, no oilers so I used as much as Rock And Roll cable magic as I could.
Managed to pick up a titanium cabel outer fid/marlin spike as an add on to an online order. It fits the cable outer inner bit perfectly and makes it very round. Lovely little object.
I have attempted to search for it, but cannot come up with the page.
Good tip on threading ferrules first through the shift cable before pushing the lot into the housing. I frayed some shift cables cutting them too early.